Pages

Showing posts with label diy. Show all posts

Tuesday, August 11, 2026

Made a Sewing Machine Cover (with a Cat!)

Making a new sewing machine cover has been on my to-do list for 3 years now. We were still in Singapore the last time I made one and I made it by hand. I've learned a few tricks since then and made this one mostly by machine. I embroidered some parts which is why it took longer than I expected. 


Anyway, I did the cat first and made the base really simple. Just huge strips of denim-like fabric. I think I went for monochromatic tone since the sky has been pouring rain for at least two weeks now.  

I think it turned out cute and it matches the covers I made for my kitchen appliances. Here's how it turned out:


And how I made it:


#BeKind #StaySafe


Tuesday, August 4, 2026

Made Another Cat Quilt

I finally finished the cat quilt I've been working on. It was inspired from Pinterest and I used scraps to put it together. Making it took longer than I expected because I embroidered some parts of it. I also asked for advice from Miggy to make sure the measurements were correct.


Here's how I made it:


And the end result:


Nonetheless, I enjoyed making it. I'll use it as part of my new sewing machine cover. I haven't made one in more than 5 years. I hope it will turn out cute :)


#BeKind #StaySafe


Tuesday, June 30, 2026

Made a Yoda-Inspired Coaster

Another sewing project inspired by cats and Pinterest! I finally finished the Yoda coaster I've been working on for two weeks now. I thought I could finish it in a day, but it took longer. I didn't expect that making a mini "Yoda" stuffed figure would be challenging. 


I finished my practice piece in 3 days. I had to adjust a few things since Miggy said the arms were too big and the Yoda head was too small. My mistake was using a Yoda keychain as a pattern. I made it a bit bigger and filled out the arms more. I must say, it's a very healthy Yoda, haha. 


I had to move the head also since it seemed awkward to put it on the side. Miggy said it worked for the cat sample because cats have four legs. Ahh, he made sense, so I decided to just put the head in the middle. The coaster though would only work for slimmer glasses (sorry na). 

Anyway, hard as it was to make, it turned out cute. It would be annoying to use for our small family room dining table, so I'll bust it out only when we use our "formal" dining table (the table we only use during Christmas and New Year, hahaha). 

Maybe I'll make a cat version, yes?

#BeKind #StaySafe


Tuesday, June 23, 2026

Work-in-Progress: Yoda Coaster

I saw a cute cat coaster project while doomscrooling. I wanted to do it, but I thought I'd make a Yoda inspired one.

Yoda because my Grogu fabric will just get dirty if used as a coaster and I don't think my green fabric won't match it. 


Anyway, I found a Yoda keychain which I could use as a pattern. I adjusted the size because the arms I made were too big.

It's harder than I thought, so it's still a work in progress 😁 

#BeKind #StaySafe

Tuesday, June 9, 2026

Made a New Quilted Bag

It took over a month to finish this project, but it's finally done! It's been over five years since I made myself a proper bag. I realized I've come a long way since I made this bag. The last one I made was mostly hand-stitched and back then I didn't know how to use fusible interfacing. 


I wanted a bag that would remind me of the sun and lemon flavors. I gathered yellow scraps and cut to make small squares. I decided to use them for huge pockets as additional storage. I matched it with denim fabric to bring out the happy color. 

Luckily, my Mom left a lot o zippers and I was able to use one for the bag. I just DIY'd the handles with interfacing. Using interfacing for the handles makes a huge difference. I didn't put any in my previous bag and I had to add a new handle to make it sturdier. 

I like the size of this bag (9" x 3" x 12") since it fits my prescription envelope. I thought it was too slim, but it fit my stuff perfectly. Now, I can't wait to bring it to town, LOL. 

#BeKind #StaySafe

Tuesday, June 2, 2026

Almost Done!

I like how I'm making this bag project. I've learned a lot in the past few years in making quilted bags. I make them sparingly, but I improve everytime I make one.


One huge difference I did was to use fusible interfacing. It makes my projects cleaner and it doesn't bulge as much when you combine it with batting. I've also learned to appreciate thinner batting! I used to think thicker batting is better! 

I've been so busy with other things, so this project has spilled over to this month! I can't wait to finish it and use it when we go out :)

I should be done soon!

#BeKind #StaySafe

Tuesday, January 27, 2026

Quilted Christmas Blender Cover

I finally finished the Christmas blender cover I've been working on the past few weeks! I told myself to finish a project before working on another one. 


I chose to make a tree. I thought it would be easier than the snowman. It wasn't, haha. Anyway, despite making a lot of adjustments, I had fun adding embellishments. I used some old beads and got a cute star online (I was lazy to make one).

Very early for Christmas this year, heh.

#BeKind #StaySafe


Friday, January 2, 2026

Made Atsara

I quickly looked at what I could do with the papaya we harvested from our tree. There were two and one was still green. We also got two small bell peppers and have a number of ginger in pots. I did a quick search and found out that I could actually make atsara from our harvest. 


I liked Chef Tatung's recipe since you actually cook the atsara. The other recipes I watched only poured boiling vinegar on the veggies. I figured the result would be tastier if I cooked the veggies together. The recipe was also on one of the first Simpol cookbooks, so I got to work last weekend.

Using the food processor was really helpful. I'm a klutz when it comes to using knives. I just cut the veggies and fed them to the food processor. Preparing everything took longer because I took videos, haha. It was easy to make and I'm glad I had everything on hand. Maybe next time I'll make more when we have a bigger harvest and I'll share it with friends. 

Full recipe: https://recipesformyson.blogspot.com/2026/01/recipes-for-my-son-homemade-atsara.html

Here's how I made it:


#BeKind #StaySafe 

Tuesday, November 25, 2025

Made Cat Toys Using Old Socks

Our cats love rubbing their heads on our feet which I read is quite common. While decluttering I set aside some pairs of socks that have seen better days. They were no longer useful since the garter was loose already. A lot of cat owners give their cats stuffed toys or small pillows, so I thought I'd make some for our  cats using some of my retired socks


It was fairly straight forward and easy to make. My cats won't judge me, lol. I also used leftover batting which were cuttings from other projects. Here's how I made them:


I sprayed the toy with catnip before giving it to our cats. Meredith (above) immediately inspected the toys. I eventually paced them in their beds/boxes and they've been cozying up to it eversince I placed them there. Woohoo! I'll make more for them once I have enough batting again. 

#BeKind #StaySafe

Tuesday, November 18, 2025

Kitchen Cover Progress

My kitchen gadget cover is progressing well and I'm now working on the other parts. I decided not to make it too Christmassy so I can extend using it, haha.


Since it's Yoda themed I decided to render the rest of the cover in green. It will be light to the eyes, very different from my rainbow kitchen covers. 

Hope to finish by end of the week!

#BeKind #StaySafe

Tuesday, September 9, 2025

Restored a Vintage Hard Case

While sorting the things in my childhood home, I found a hard case that I last saw when I was a child. It's probably older than me and was kept high up in my Mom's cabinets. It was very dusty and looked like it will outlive me (hahaha). 


The case looks like it belongs to a museum, but to me it's priceless and an heirloom. It was probably a make-up case. It's quite heavy and probably sturdier than any of the furniture you can buy online (seriously!). So, I thought I'd work on restoring it. It would be nice to use as a sewing kit.


I toiled over it for almost a month. I took my sweet time thinking and researching the easiest way of restoring it. I also didn't want to accidentally destroy it, so I worked on it carefully. I only spent for fabric felt, illustration board, and a gold paint pen. I already had glue, double sided tape, and baking soda on hand.

Here's how I worked on it:


And here's how it looks now:


I finished it before I got hospitalized and have just been working on painting the metal parts the past few weeks. I'm figuring out how I could replace the thread around the case, but I feel it'll be complicated. It's useful now and I've been using it to store thread and some sewing materials. 


#BeKind #StaySafe


Tuesday, June 24, 2025

Another Scrap Fabric Project

I need a couple of things for my bag. I've been annoyed with my powerbank juggling around inside my bag. I had been putting it inside a pouch with my pill box. I realized though it's not good to do that since the power bank warms up when I use it. 


After making the pillow cases from Mom's unfinished projects, I set aside the scraps for future use. Found some long strips and thought I'd finally make a pouch for my power bank. I didn't bother measuring it and just decided after I pieced it how it would look. 


Here's how I made it:


I also used franken-batting, an old pillowcase (as back fabric), and leftover binding to close one side. I like how it turned out and I've been using it. I finished the project in two nights. I still have a lot of leftover fabric and will probably make a case for my eyeglasses. Let's see how that goes next week. 

#BeKind #StaySafe

Tuesday, June 17, 2025

Completed Mom's Unfinished White Quilt Project

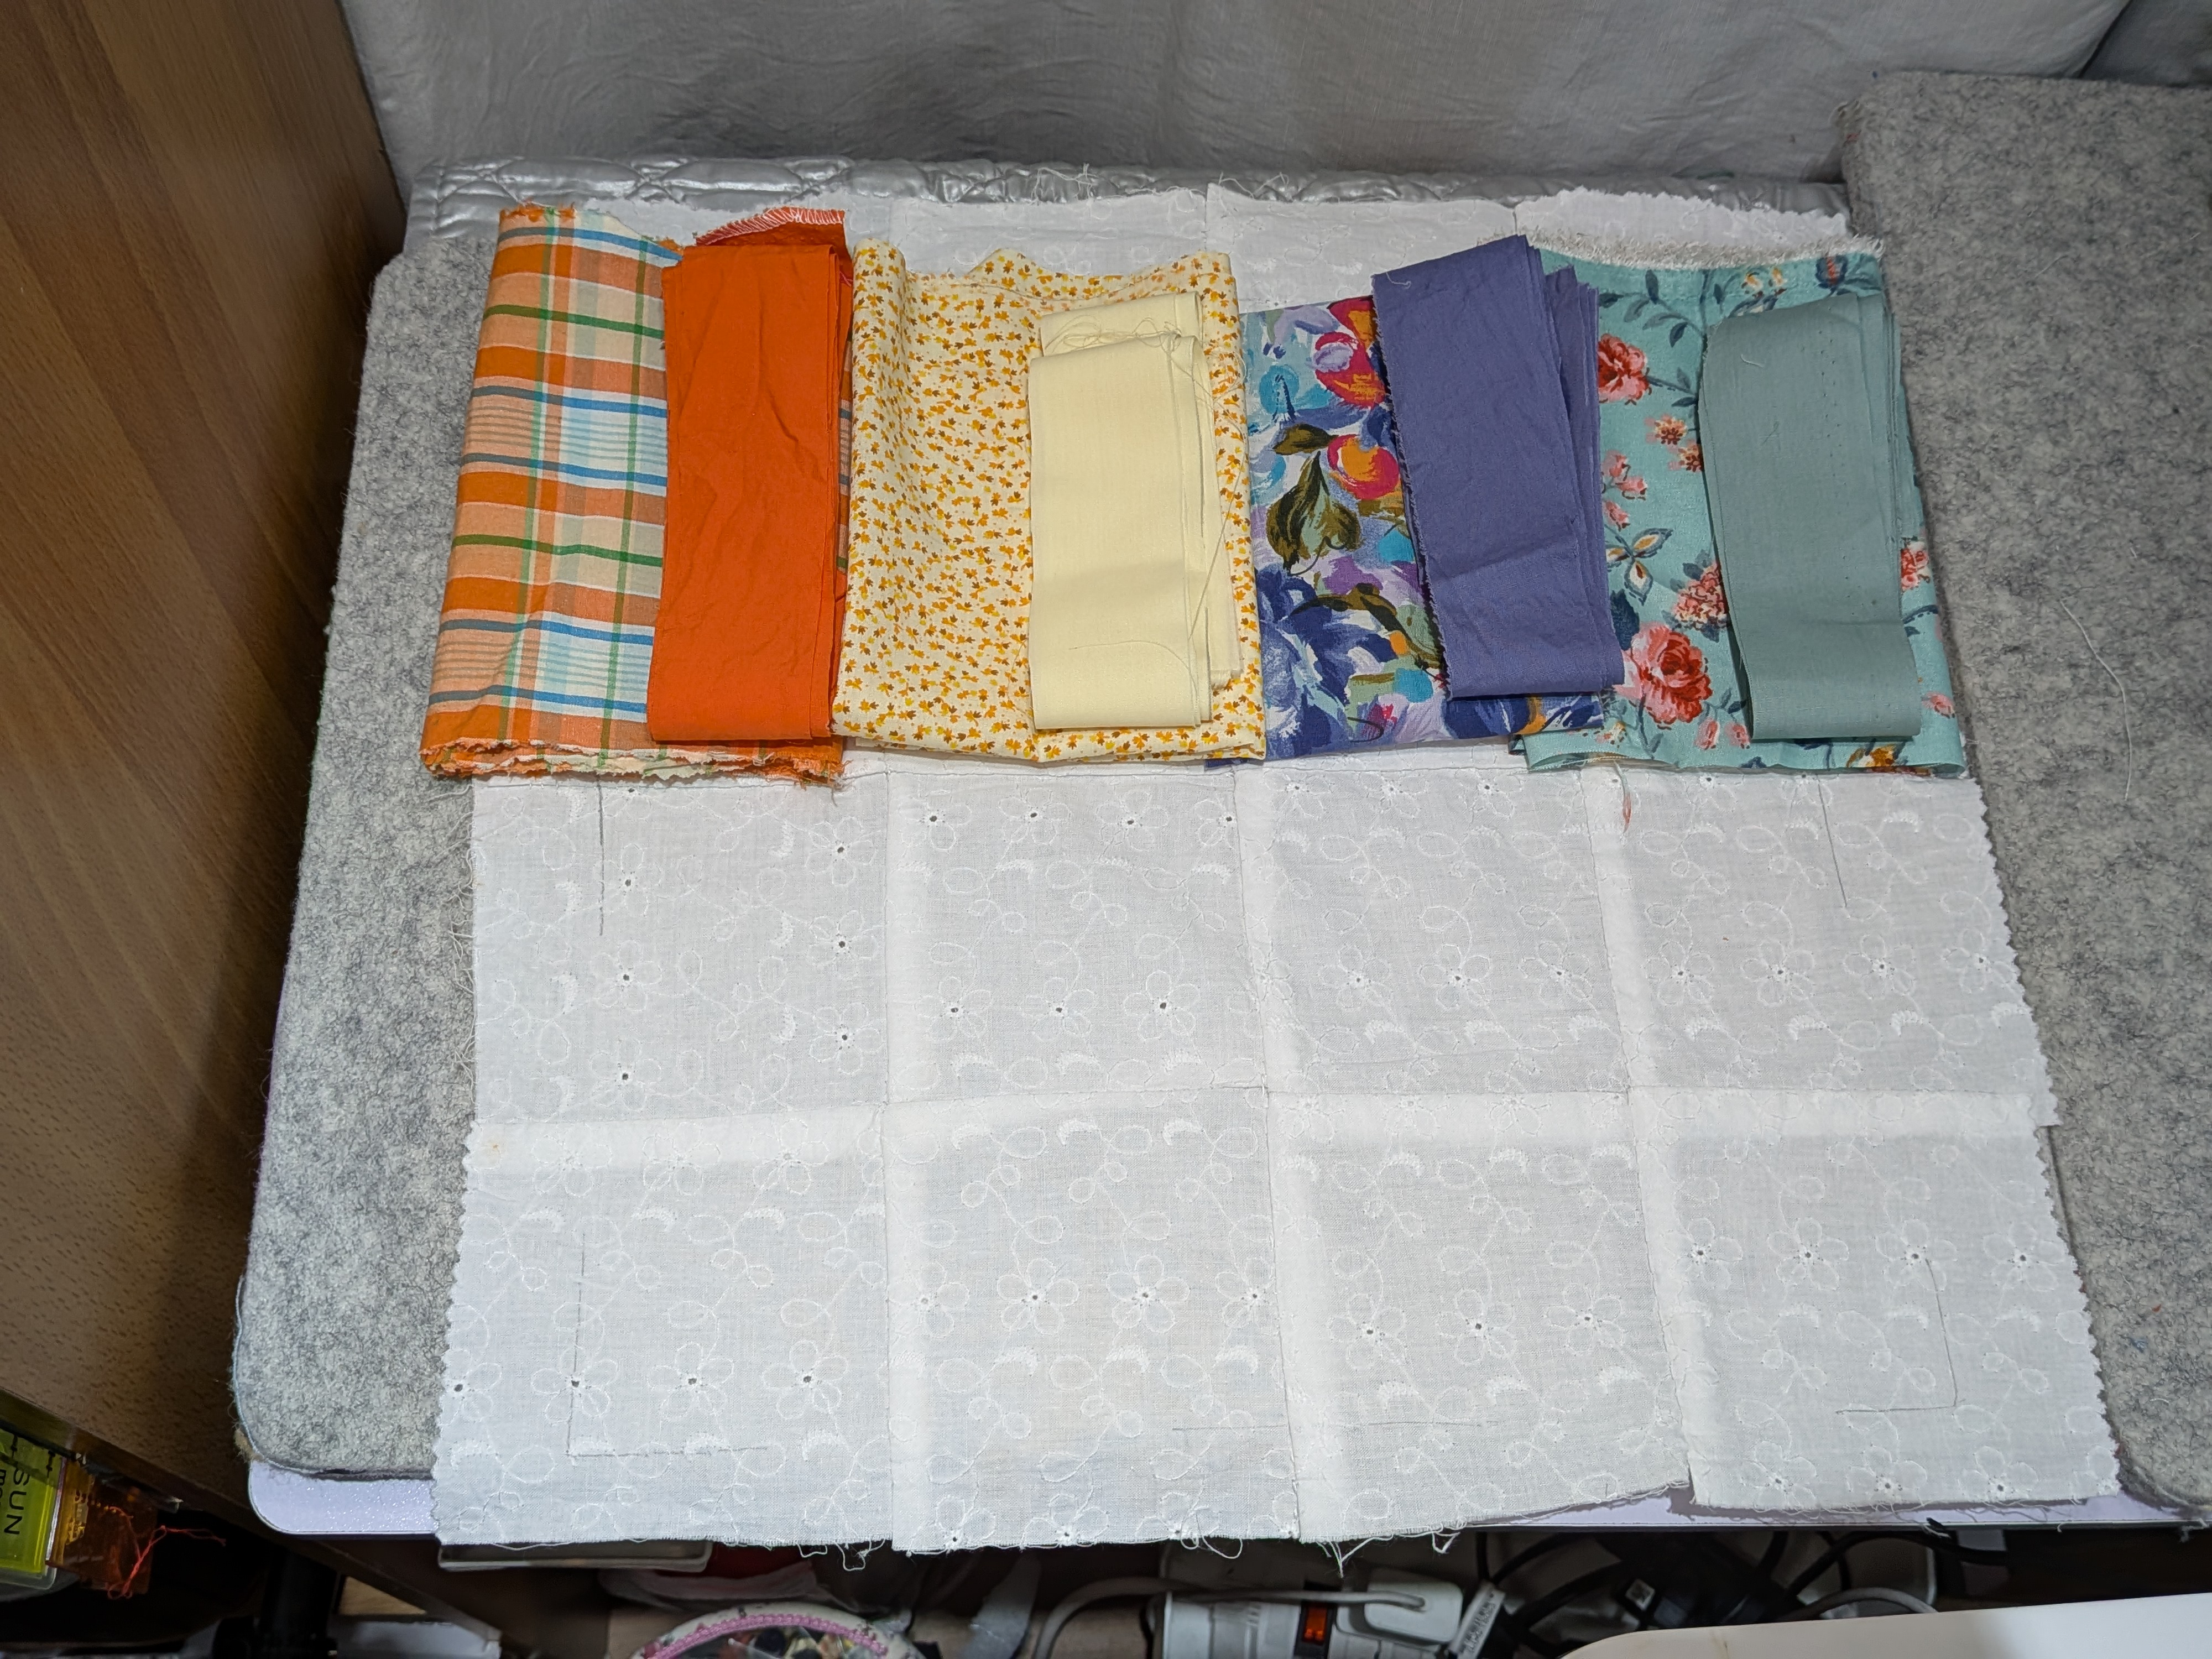
I found six squares of pieced together white fabric. It was hand sewn by Mom. I looked at it for a long time before I decided to make throw pillow quilt covers with it. I also used some of the scrap fabric she left. I broke this project into two parts. 


The first part of the project was for the bigger throw pillows. It was perfect because there were two larger squares. I took the chance and experimented on making cats. I posted about it a few weeks ago (check it out here). The second part was to make four throw pillow covers for the smaller pillows. 


The squares were not even, so I decided to simplify and just added scrap fabric to the sides to frame the white squares. I wanted to highlight the fabric Mom used (eyelet? I'm not sure what it's called) and I chose some of her scrap fabric to frame it. I quilted diagonally to add some flair. 

Here's how I made it:


Mom still has a lot of unfinished projects. No wonder she kept telling me to finish what I start because she left a lot of stuff for me to finish. Most of her unfinished projects are big enough to make more throw pillows. I have to wash all of them and see if maybe I can make a blanket out of them. Well, we'll see. I'm just glad I managed to make something out of her unfinished project :)

#BeKind #StaySafe 

Thursday, May 29, 2025

Turned Mom's Unfinished Project to Something Useful

I hope I have gone through the last box of Mom's craft materials and projects. She left a lot of unfinished projects and I've been trying to figure out what her plans were for it. Some were probably meant to be throw pillow covers. I know she liked making them. Others were probably part of blanket projects. 


Since a lot were mismatched I thought I'd just make something that would be useful. I started with blocks of white fabric she pieced together in squares. I washed it and removed the batting before I started to work on the project. Here's what I did -


It took a while to finish since I stopped sewing for a few months. I needed more time to sort her things and it eats up a lot of time. I got exhausted and needed a break, so I decided to work on her unfinished projects. Mom also left a lot of scrap fabric, so I integrated it into the project. I want to add to my sewing skills and using scrap fabric allows me to be more experimental. 

Here's the result of this first project:


Meow!

#BeKind #StaySafe

Wednesday, May 14, 2025

Made a Protective Case for my Mini Air Purifier

A friend of mine mentioned on X that the most popular gadget used during the elections is the Jisulife fan. I have a fan, but it's not Jisulife (haha) and maybe I'll make a case for my Tylex fan next time. One thing that I use regularly is a mini air purifier. I have severe asthma and use it whenever we go out. It's just annoying that the switch easily turns on whenever it's in my bag. The solution was to make a protective case for it. 


I made the case as a learning project since I haven't done anything to cover a rounded gadget. Of course, I used scrap fabric from a previous project so I don't waste any of my precious stash (haha). It was quite easy to make and I'll probably make another one soon to improve my craft. Here's how I made it:


And the end result:


#BeKind #StaySafe

Tuesday, May 6, 2025

Made a Card Holder for Bulky Rewards Cards!

While sorting my Mom's stuff I found the hand sewn wallets I made when I was a child. Mind you, I actually used them in school (not much to put inside anyway!). I giggled when I found it and I'm lucky I couldn't find the photo of the project because it was obviously the work of the child who was only starting to sew, hahaha (I honestly don't know why my Mom still kept it!). 


Anyway, I needed a card holder. Those rewards cards from shops accumulate and I couldn't close my wallet anymore. I had some scrap fabric from a previous project and so I decided to use it for this project. It was easy to make and I'm happy I now know how to make a holder with several compartments. Here's how I made it -


Easy peasy as long as you understand the logic for folding the fabric. If I put my mind to it I could probably make this as a Christmas gift. If you'd like to make it, you can check out the tutorial on my sewing blog.

Now I need to check what other cases I need for my stuff :)

#BeKind #StaySafe

Wednesday, April 30, 2025

Made a Dainty Kitchen Curtain!

Mom left a huge stash of fabric and retaso (scrap fabric). It took me months to go through it and I'm honestly not done yet washing it. I found one really cute embroidered fabric, I believe normally used for dainty dresses. It was white, but was in a bad brownish state from being kept for many years. It took me a week to restore it to almost white. 


I set aside any delulu plans of sewing a dress or skirt. I'd probably fail since I don't really know how to sew clothes! After months of pondering I decided to make a curtain. The fabric was long enough to make one for our kitchen window. 

But alas! It wasn't long enough. I decided to be creative and thought about adding fabric to make it longer. I was inspired from browsing a book on curtains at Booksale (I regret not buying it!). Anyway, I decided to use denim-like fabric to keep it neutral. 

Mom also left some lace. It also took me awhile to restore their color to white. I think she got most of them when she was teaching me how to quilt when I was a child, so you can just imagine how long they've been in storage. Anyway, I added some lace as an accent.

Here's how I made it:


And my new summer curtains!


Now I have dainty kitchen curtains. The denim add-on matches my cat kitchen covers. :)


For measurements, https://www.needleadventures.com/2025/04/diy-dainty-summer-kitchen-rod-pocket.html

#BeKind #StaySafe

Tuesday, April 29, 2025

Jaybucks Homemade Pizza

While I was watering the plants, the boys were busy making Jaybucks pizza! It's a simple pizza made with Del Monte pizza sauce, cheese, Purefoods ham and ready made crust. Easy peasy to make.


It's always a treat to have homemade pizza. It's filling and not too heavy for the tummy. One of these days we'll try to make it from scratch (when it's not too hot!).

#BeKind #StaySafe

Friday, January 10, 2025

Quilting Warm-up with Scrap Fabric

I like to start the year by making small projects using scrap fabric from the previous year. I made a list the other day of what I "plan" to do this year. I have an immediate need for a new case for my cards. The old one I made still works, but it's bursting at the seams because of all the establishment cards I collected over the past two years. 

I looked through my scrap fabric and realized I don't really have a lot that can match each other. I had very small ones from a quilted tote bag I made for a friend. Since it's just a small case, I managed to finish it last night. There were errors and the case was still not enough to carry all my cards, so I made a new one again this afternoon. 


I skipped the batting and binding for this one. I watched a couple of videos where they skipped both, so I thought I'd make it that way. I used scrap for the whole piece. I also used Velcro instead of snap-on buttons since they don't stay closed. Velcro will prevent the cards from spilling all over my bag. 


Here's the turn out:

First attempt

Second attempt

I'll add how I made it when I finish editing the video :)

#BeKind #StaySafe


Saturday, November 30, 2024

Made a Pokemon "Pikachu" Quilt

I was really curious whether Pinterest grids of characters would work as a quilt. Since I had a lot of yellow fabric, I decided to make a Pikachu quilt. I originally intended to make it as a throw pillow case, but it was too cute. I decided to turn it into a wall hanging since we don't have anything on our walls. 


I started the project last August. I was busy with other things. I worked on it on and off and piecing together 400 1"x 1" squares wasn't easy. I had to take breaks in-between to rest. The hardest part was hand quilting across the project. I'm happy I now have a Pokemon wall decor-a homemade one!

Here's how I made it!


Will I do it again? Maybe. I definitely want to have a Yoda one and if I have more energy maybe I'll complete the Pokemon starters.